
The Invisible Elephant in the Room: Retrofitting pgAdmin to an Existing App
PostgreSQL: The Invisible Elephant
Congrats! You have just finished building your first application that uses a Postgres database. Maybe you have even gotten around to deploying that app to Heroku or another cloud platform. Let's take a look at our database in the PostgreSQL12 program:
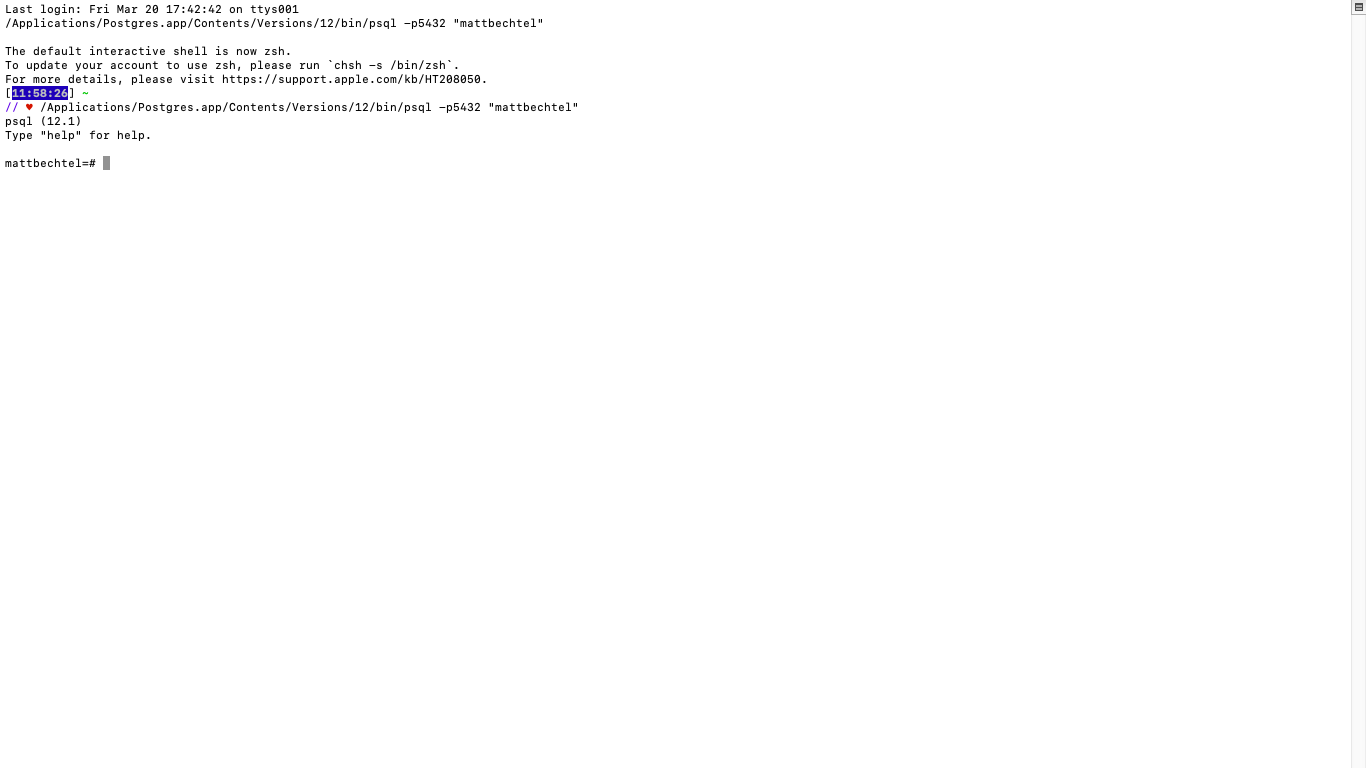
Command line SQL is not the best visualization when you want to browse your app's database. First, you, of course, have to learn or re-learn SQL, which you probably did not use much of in that app you built with a modern framework. Then, on top of that, you have to become proficient in psql command line commands in order to even apply your SQL.
It is time to take stock of your app and admit you made a mistake. You probably should have set up a database viewer at the beginning of your process. But all is not lost! You can easily retrofit PostgreSQL's standard database viewer and development platform, pgAdmin to your already existing app. In this blog, I will explain how to retrofit pgAdmin for an app's development database and databases deployed to Heroku or Amazon Web Services.
Connecting pgAdmin to your Local Development Database
Please note that these instructions are geared towards people using MacOS and pgAdmin4 with PostgreSQL12. Steps may be different for users of other operating systems or following major updates to pgAdmin and Postgres.
-
First, we will want to make sure that we have pgAdmin4 installed on our machine. If you did not install pgAdmin at the same time you initially installed PostgreSQL, you can always go to the pgAdmin4 download page and install it. I found using homebrew and the command line to work just fine as well.
brew cask install pgadmin4 -
Once the installation is complete, you should be able launch pgAdmin4 from Finder's applications list. pgAdmin will launch in your browser. If this is your first time launching pgAdmin, you may be asked to set a password (and if it is not, you should be asked to provide that password).
-
With pgAdmin working (although not doing much), we need to get a couple of important pieces of information from PostgreSQL to proceed. Open Postgres. You can often find an elephant icon on the toolbar, but make sure you are choosing the Postgres elephant, and not the new icon for pgAdmin. If not, check for the app in Finder.
The information we need to continue is found in server settings. We need the server name (the default is usually PostgreSQL and the major version number -- at the time of this writing, it is PostgreSQL 12.) We also need the port number. This usually defaults to 5432.
-
Returning to pgAdmin in your browser, there should be a tree pane on the left. You will want to right-click whatever is at the base of that tree and select the option that allows you to create a new Server Group. Provide it with whatever name you like. A name as simple as 'Applications' will work just fine.
-
Now, right-click that server group you just created and select the option that allows you to create a Server. A dialog box should open up.
On the General pane, provide your server with a name. Again, any simple name will do.
Switching over to the Connection pane, provide a host name/address. In this case, it should match the IP address in your URL bar. Usually, this will be `127.0.0.1`. Make sure the port number matches what the port number was in PostgreSQL (usually 5432).
Enter a password, and then save.
Within a few seconds, the development and test databases that PostgreSQL serves on your machine will appear in the tree pane. If you want to explore your data, you follow a specific database's tree to Schemas/Tables. Select the table you want to explore, right click and then select View/Edit data. Of course, pgAdmin4 will also allow you to edit, add, and remove instances or entire tables. Now that your database viewer is set up, these databases to test and develop your applications.
Connecting pgAdmin4 to a Database on Heroku
These step-by-step instructions largely follow the instructions available from this useful blog by Grey Barkans on Medium. Grey goes into a little more depth and provides a few helpful screenshots. This guide aims to keep things simple.
If you skipped directly to these instructions and did not need to connect a development database to pgAdmin, please follow the first two steps of the instructions above. You will still need to install pgAdmin4 and set a password.
-
Log into your Heroku account and select the API app with the database you want to connect to pgAdmin4, then click on the resources tab. Alternatively, you can just go to the URL in your browser: dashboard.heroku.com/apps/NAME_OF_YOUR_API/resources.
Heroku Postgres should be listed as an add-on. Click 'Heroku Postgres' to open the datastore window.
-
Navigate to the settings tab, then click the 'View Credentials' button. These are the credentials we need to hook pgAdmin4 up to our production database. Keep this page view open; there is a lot of data we are going to need to copy over to pgAdmin.
-
Over on our pgAdmin browser page, you can create a new Server Group if you would like (step 4 in the development instructions). Once the Server Group is active, you should right-click it and select the option to Create a New Server. A dialog box will open.
On the General tab, provide your server with a name. Any name will do, but you probably want it to be fairly descriptive -- the name of your app is usually appropriate.
Switching over to the Connection tab, provide the host name/address. In this case, it should match the host credentials on Heroku. The address will probably end with .amazonaws.com.
The port for pgAdmin should match the port in your Heroku database credentials. Usually, this will be 5432.
The maintenance database will match the Heroku database credential.
Set the username on pgAdmin to match the user in the Heroku database credentials. The password on pgAdmin should match the password credential on Heroku. You probably want to save the password.
On the SSL tab, set the SSL mode to require.
Finally, on the advanced tab, copy the database credential from Heroku into the DB restriction field on pgAdmin. (This field will, thus, match what we set our 'maintenance database' to.)
Then save.
You should now be able to view your database tables by moving down the tree to Schemas/Tables. You will be able to edit and view instances and tables. Just remember, this is your production database. Any edits you make will be reflected in your deployed application, so this can be inadvisable under most circumstances.
Please also note that the credentials you copied from Heroku are not permanent. If you find one day that pgAdmin is no longer working with your production database, consider checking that your database credentials have not changed.
Connecting pgAdmin4 to a Database on AWS
There is no need for me to reinvent the wheel here. AWS has full step-by-step instructions on connecting pgAdmin to PostgreSQL RDS database instance in their RDS documentation. (At the time of this writing, AWS does not fully support PostgreSQL12. It may be safer to deploy an PostgreSQL11 version to AWS.)
Update: As of March 31, 2020, AWS now supports PostgresSQL 12.